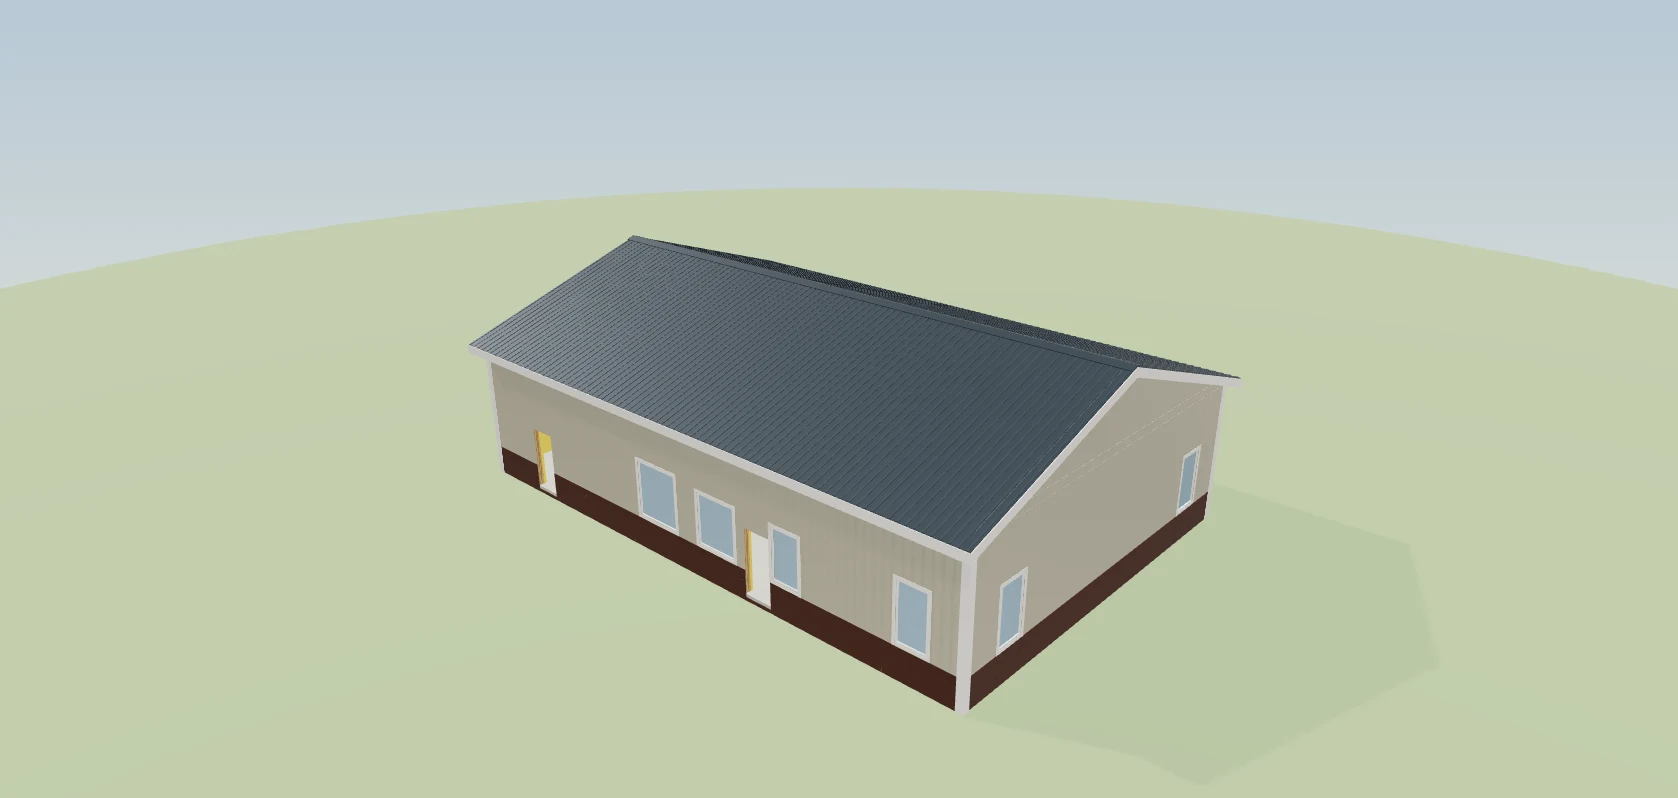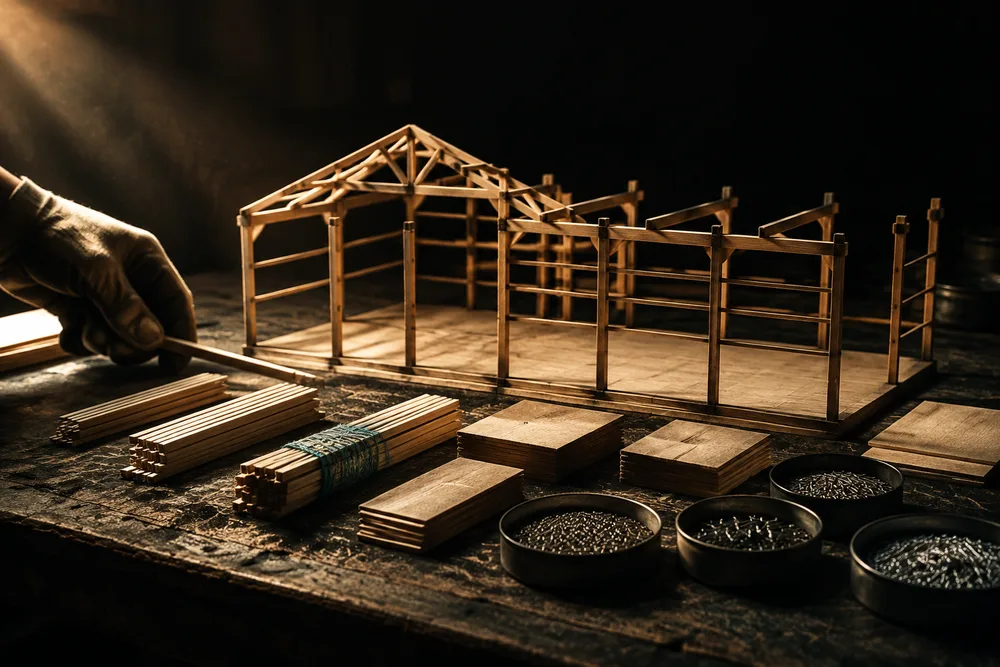
A real 3D model you build by pulling on the building itself — width, length, eave, pitch. Openings snap to bays. Lean-tos and porches attach where you put them. Peel the roof off and the framing is there: trusses, purlins, girts, posts and footings — or studs, plates and headers on a stud-wall barndo — every member the engine derived. It is not a picture of a building; it is the building, and the material list underneath it is counted from this geometry. One Wall system control frames it the way you build it — posts in the ground, posts on slab brackets or stud walls — and a barndominium can carry a second floor or a loft on a priced floor system. Build it the way you work: drag it in 3D, type it in the panel, or work down the Checklist — every value the build accounts for in one list, changed in place and ticked off as accounted for. All three edit the same design.
Also called: 3D builder · pole barn designer · post frame configurator · building designer · 3D quoting tool
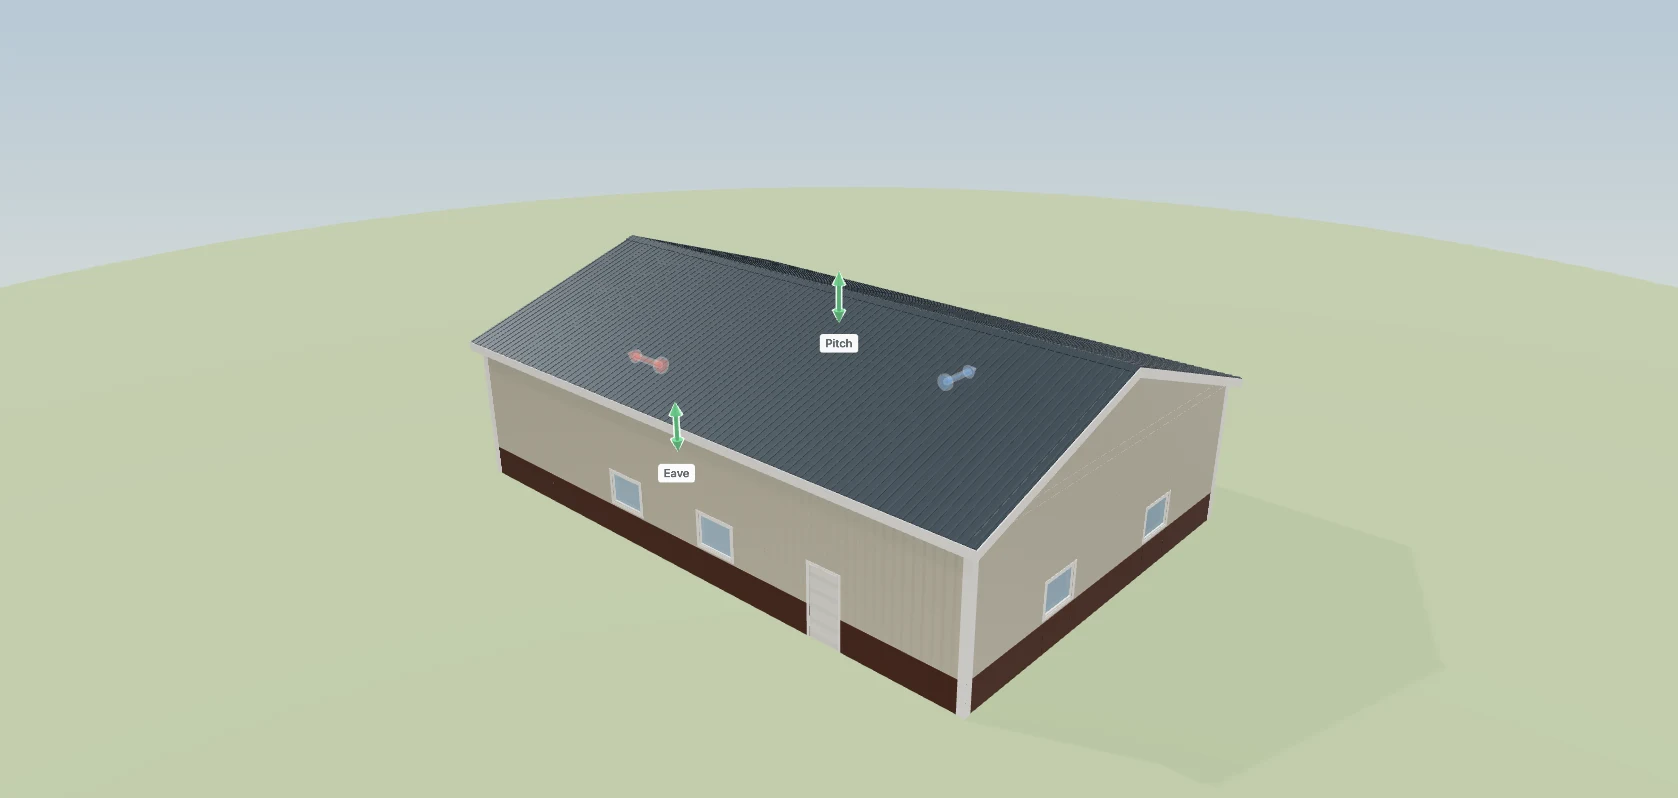
Drag the building to size it
The handles are on the building, on the axis they drive — pull the eave up and the walls grow with it. There is no form to fill in and no apply to press, so sizing a building takes the time it takes to have the thought.
A customer asks what the fifty-foot version costs and the honest answer is "let me redo the numbers and call you back."
Pulling on the model rather than typing at it makes the change land everywhere at once — the frame re-derives, the panels re-cut, the price moves — so there is no version of the building that is only half-changed.
Right-click anything, and the menu knows what you hit
One gesture, and the menu changes with the part you hit. Right-click the roof and you get the roofline: gutters, gutter guard and roof insulation, each with its quantity and price; the trusses — common or scissor, the spacing with the number of trusses it makes, and the 2x6 bottom chord under drywall; and the roof shapes and roofing systems, each roofing system with its minimum slope. Near the eave it leads with the gutters and the overhang; along the ridge, a vent and a cupola. Every menu ends with Edit in panel and About this. Press ⌘K (Ctrl+K on Windows) and every part's options come up as one search.
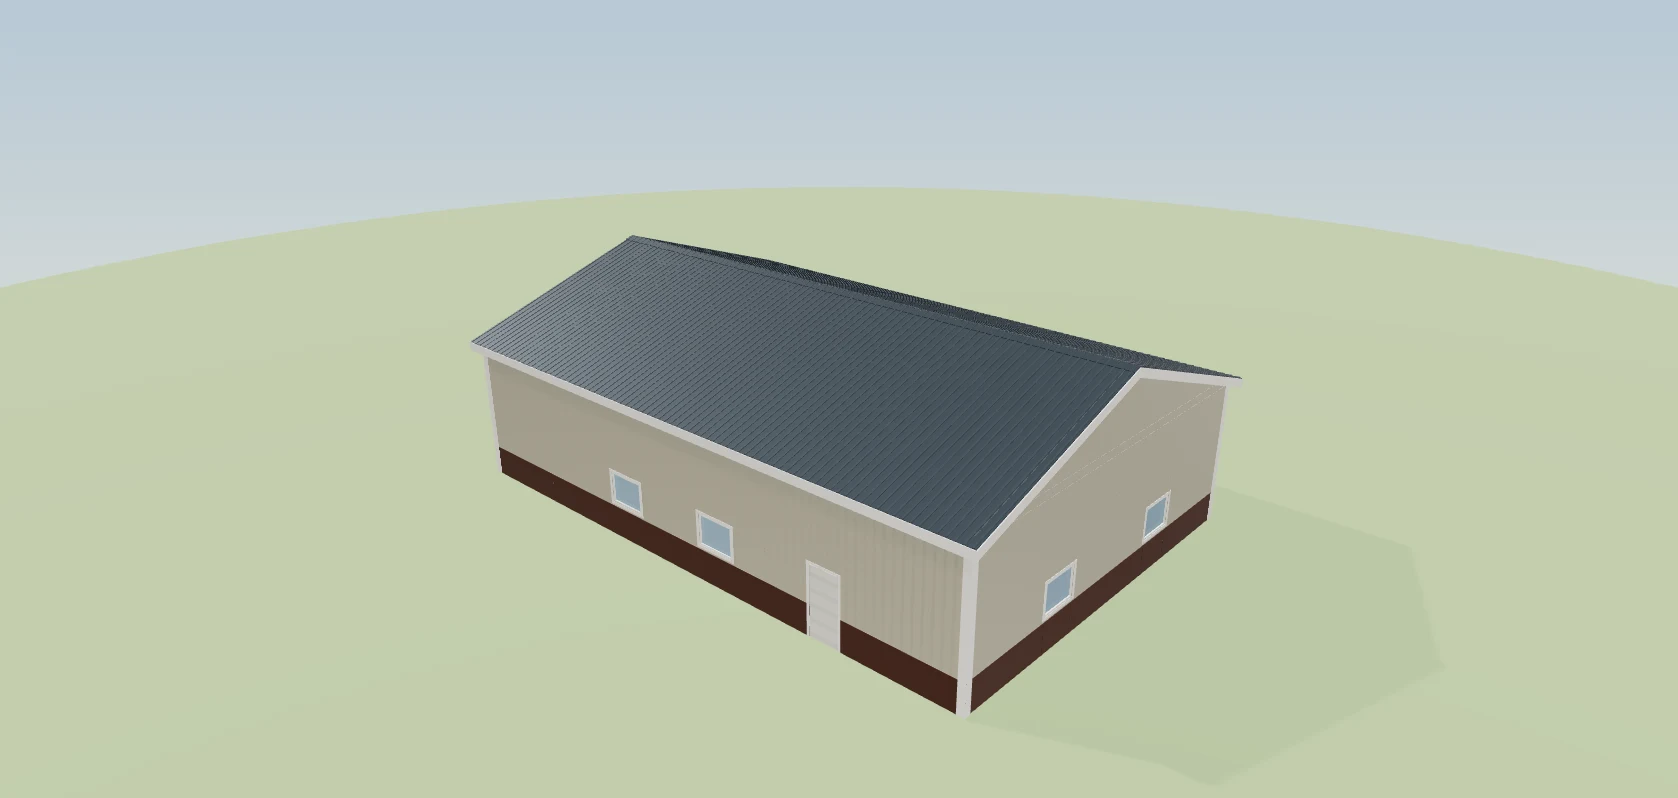
Pricing gutters on a wall you are already looking at means leaving the model, hunting the panel and coming back, so it gets quoted as a round number or not at all.
The menu is assembled from whatever the click actually hit, and every line carries its own quantity and dollar figure — the price of a decision sits on the decision instead of showing up three screens later inside a total.
The same click on a wall — a different menu
Right-click a wall and it is a different list entirely: insulate this wall or all of them, the wall system — posts in the ground, posts on slab brackets or stud walls — girt spacing, wainscot, its framing (girts or nailers, fireblocking, fire caulk), the fixes for a window sitting on a post, what the floor is made of, what you can place on that wall, and what you can attach to it. Same gesture, different surface, different answer. Nobody has to learn where anything lives.
A new estimator spends their first month learning which panel holds which setting, and quotes the wrong thing while they learn.
There is no filing system to learn, because the answer is wherever the question was: insulate this wall or insulate all four sit two lines apart, each already costed against the square footage of the wall under the cursor.
…and on a door, it is that door's menu
Land on an opening and the menu becomes that opening's: change the size, insulate it, set a garage door's lift, duplicate it onto the same wall, delete it and re-frame the hole. Three surfaces, one habit.
The customer wants the overhead door two feet wider, and it turns into a delete, a re-place, and a check that the header still fits.
Keeping the operations on the opening keeps the framing attached to it — remove one and the wall closes back up, with its header and jamb posts leaving the count too.
…and on the floor, the floor's own menu
Try itRight-click the floor with the roof off, or while you walk inside, and the menu is the floor's: dirt, gravel or a slab, the slab thickness, the frost footer — and on a barndominium, Add a second floor or Add a loft here. Right-click an upper floor and it offers that floor's joists, depth, spacing and subfloor, the glue and the stair. Every pick re-prices the estimate.
Swapping a second floor from 2x joists to floor trusses in the middle of a design meeting means hunting for the right panel while the customer waits.
The floor's choices live on the floor, so the question and the answer are in the same place — and the price moves the moment the choice does.
Choose a roof that is actually a roof
Try itGable, monoslope, gambrel, monitor, mansard — and the choice rebuilds the framing underneath, not just the outline. The trim list changes with it, because a gambrel does not need what a gable needs.
You quote a gambrel off a gable template and find out at the yard that half the trim on the order is the wrong profile.
Shape and roofing product are held as two separate choices because they fail differently: pick a system and its minimum slope becomes a floor the pitch will not go under, which is the line between a warranty and a callback.
Put the doors and windows where they go
Try itDrop an opening on a wall and it snaps to the bay, because that is where it can actually go. Drag it and the snap guides show you what it is lining up with.
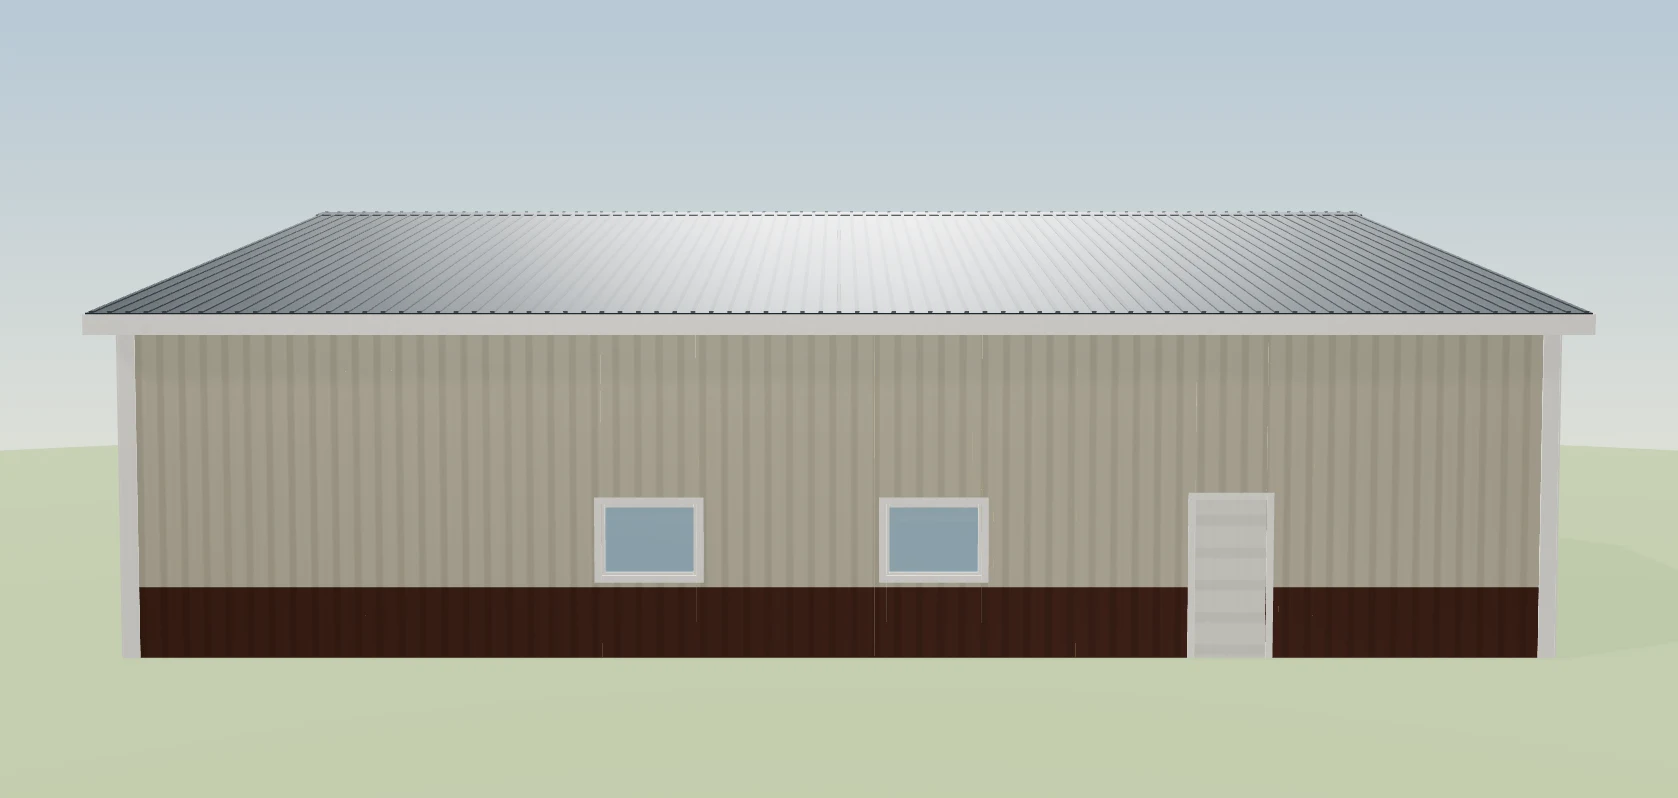
The door on the drawing sits four inches off a post, and nobody finds out until a crew is standing at that wall with a saw.
Snapping here is a framing rule wearing a guide line. Each guide names what it caught — centrelines, left edges — so an alignment you watched lock is one you actually got, not one that merely looked close.
Space them evenly, without arithmetic
Select three windows and distribute — equal gaps, done. The arithmetic that used to happen on the back of a drawing happens on the drawing.
Four windows down a sixty-foot wall, and the gaps get worked out twice on a calculator because the first pass left an inch over.
The gap is set by grabbing the space between two openings, and which gap you grab decides what holds still — left end pinned, right end pinned, or the row growing equally both ways — so evening up a wall never shoves the one opening you had already placed correctly.
Add a lean-to and it frames itself
A lean-to, gable porch or enclosed wing attaches to the wall you choose and builds its own structure into the main one — posts, rafters, the connection at the eave. It is a structure, not a shape stuck on the side.
The lean-to gets priced as "add thirty percent" because nobody wants to count its posts, rafters and concrete a second time.
It is described the way a builder describes it — which wall, how far along, how far out, how high it ties in — and the posts, footings and slab it needs arrive on the order as a consequence of that, not as a separate guess.
The house inside the barn
Try itSwitch the building to Barndominium and a Floor plan button appears beside it: the roof comes off and you draw the rooms, doors, kitchen and electrical on the same shell — then check the plan against the code, count the interior and print a plan set. Five starter layouts get you going. Everything it does is on barndominium floor plans.
A configurator that stops at the shell sends the house layout somewhere else — graph paper, another program — and the two never quite agree.
A couple who can see their bedrooms inside the building they're buying stops seeing a steel box and starts seeing their house — that's when they commit. For the builder, the shell and the house are one design, so nothing gets drawn twice.
Post frame or barndominium — the framing follows
Try itOne Wall system control in Package: Posts in the ground, Posts on slab brackets or Stud walls (hybrid), each showing what it does to the price before you pick it — the materials from your book plus the labor at the default rates — and Compare systems sets all three side by side. A post-frame building starts on posts in the ground and a barndominium on stud walls, so switching the building type switches the framing; a system you picked by hand stays put. Bearing studs are sized from the IRC stud table — 2x4 to a 10′ stud, 2x6 past it (Table R602.3(5)), storey by storey — and you can override them; the Issues panel flags a stud past its table, with the section. The whole of it is on barndominium framing.
A shell priced on posts and girts for a house the crew will frame on studs is a price for a building nobody is going to build.
The figure beside each option is the materials re-priced with that system swapped in, at the builder's own prices, plus the labor change at the default rates — so "what if it's on a slab?" gets answered at the table, not in a callback.
A second floor or a loft, priced from the floor up
Try itOn a barndominium, add a second floor or a loft and the floor under it is real: open-web floor trusses, I-joists or 2x joists, the depth and spacing, the subfloor, glued and fastened, and a stair sized to the floor-to-floor height, 36″ clear (IRC R318.7 in the 2024 code, R311.7 before). The upstairs rooms stand at the right height in 3D, and the floor's materials and labor land on the estimate with the arithmetic shown. A span past what the joists carry lands on a beam and columns, priced as an allowance and marked for an engineer to size — with the built-up girder IRC Table R602.7(2) allows named beside it on a building up to 36′ wide — and a second floor hung on the posts of a post-frame shell — the default there — is flagged engineer required. Add a floor or raise a ceiling and the walls follow in the same step — the toast says what moved and Undo puts it back; Lock eave keeps an eave the customer fixed and warns instead. Floor prices start as placeholders you replace with your supplier's. More on two-story barndominiums.
Without the floor system, a second floor's price is an allowance — and the beam, the stair opening and the subfloor glue show up later.
One calculation drives the 3D, the materials list, the labor and the estimate, so the floor the customer sees is the floor that was priced — with what still needs an engineer written on it.
Take the roof off
Layers strip the building back: finished shell, roof off, all framing, roof framing only, foundation, insulation. This is where you find the thing that is wrong before the crew does.

The framing question you should have asked in the office gets asked at seven in the morning by a foreman standing in the mud.
Six layers of one building beat six drawings that can disagree with each other, and putting them in the header beside the design name makes checking the frame a single click — which is the only reason anyone actually does it.
Look at the framing
Every truss, purlin, girt, post and footing the engine derived, drawn where it goes — and on a stud-wall shell, the studs, plates, headers and the fireblocking row at the ceiling. Not a diagram of a typical building — this building, at your spacings.
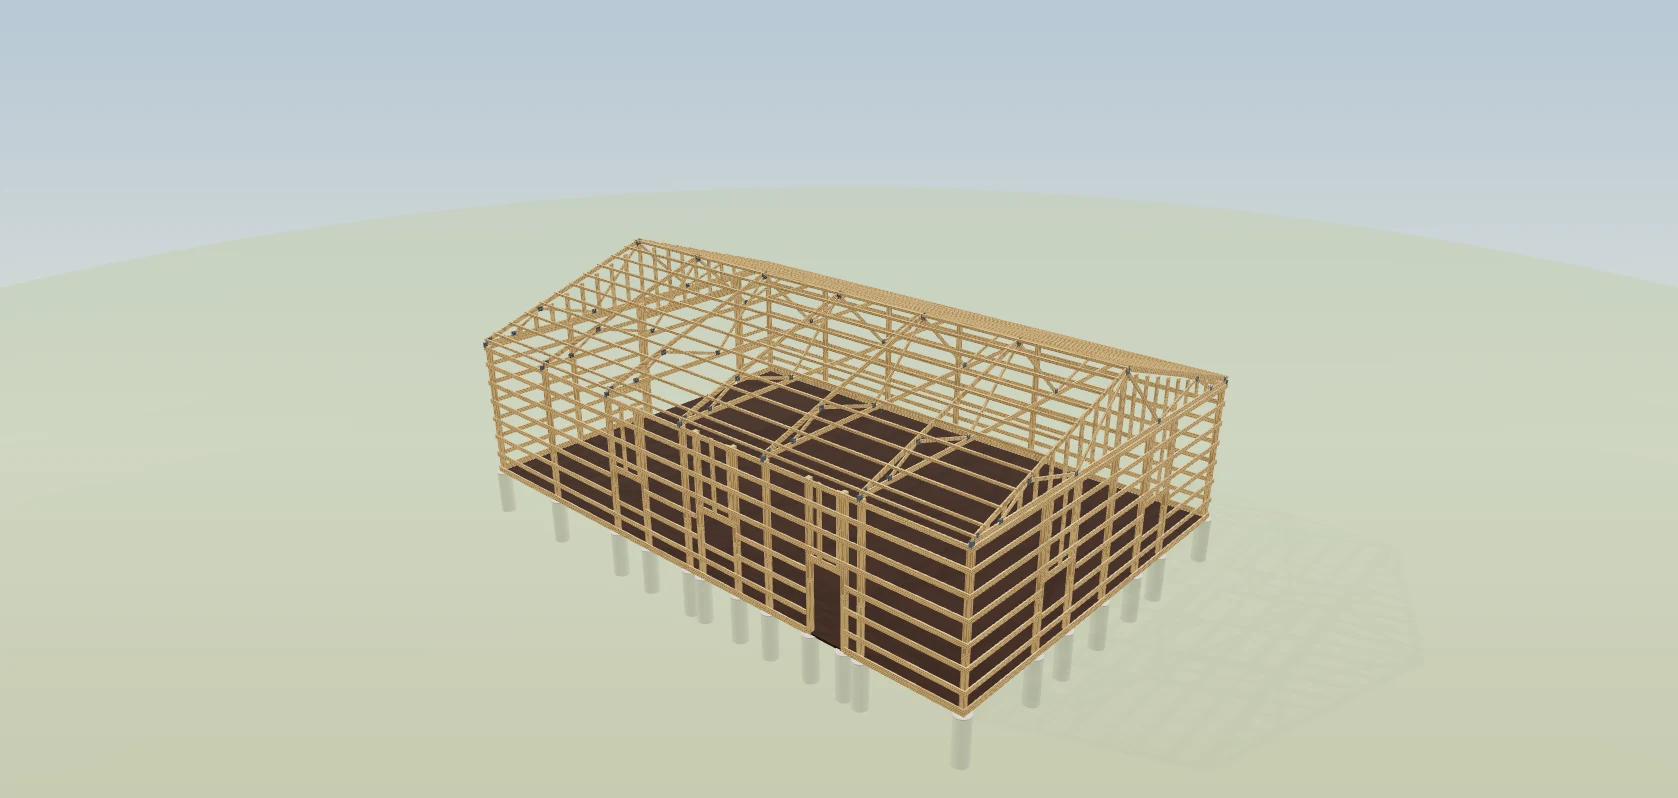
Concrete gets ordered on a guess, so the truck either leaves with product still in the drum or comes up short at the last hole.
Below-grade work is drawn at the same fidelity as the shell — every post embedded, every footing pad, the collar poured around it — so the twenty-two identical pieces you can count on screen are the same twenty-two the concrete quantity came from.
Ask a piece what it is
Try itPoint at any member and Inspect tells you what it is, what size, and what rule put it there — and its code path: the table that sized it, IRC Table R602.7(1), roof and ceiling: 2-2x12 for 6′-1¼″ of opening over a 6′ window in a 30′-wide stud wall, or who sizes it and why, Trusses come from the truss maker's sealed drawings — wider than the truss and header tables on a 40′ building. The estimate's Review marks the same rows By engineer. The framing stops being something you trust and becomes something you can check.
A crew leader queries a post size on site and the only answer anyone can give is "that's what the software said."
It reads the same on every layer, framing and buried footing alike, because a check you cannot perform at the moment you doubt something is a check that never gets performed. The reasoning travels with the piece.
How an opening is actually framed
Header, jamb posts, cripples — sized for the span and drawn into the wall. The opening you dropped in ten seconds ago carries the framing it needs to carry.
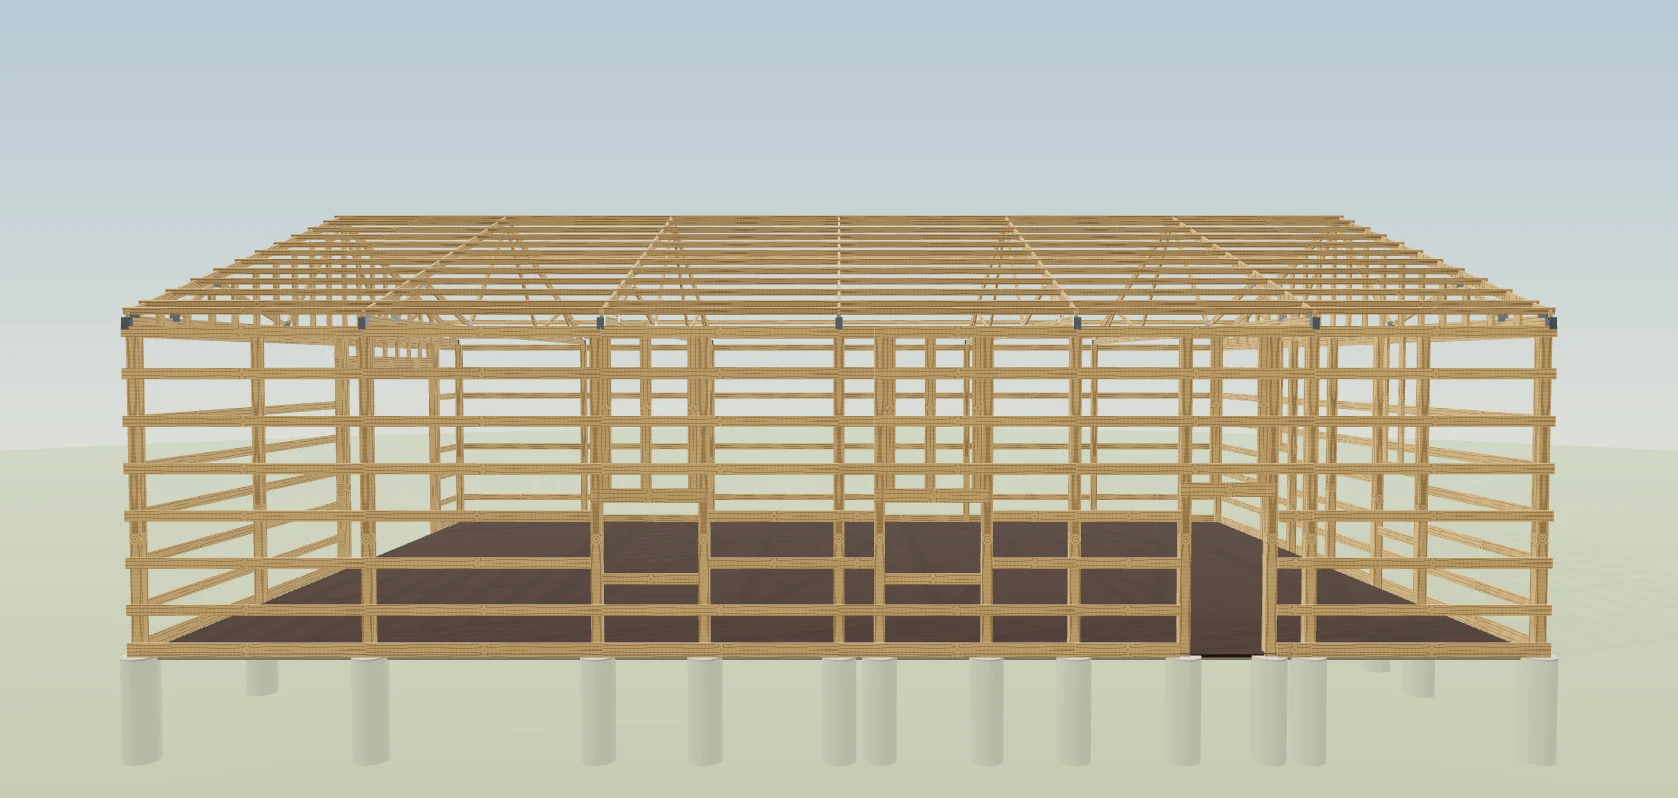
A header gets sized off the last building you did, and the last building had a ten-foot door instead of a fourteen.
Header depth and jamb build-up follow the clear span rather than habit — past a certain width the jambs laminate into a column on their own — and every one of those pieces joins the order the moment the opening does.
Walk inside it
Try itStand in the building at eye height and look down the length of it. Press E and the overhead door goes up on its tracks. It is the closest a customer gets to standing in a building that does not exist yet.
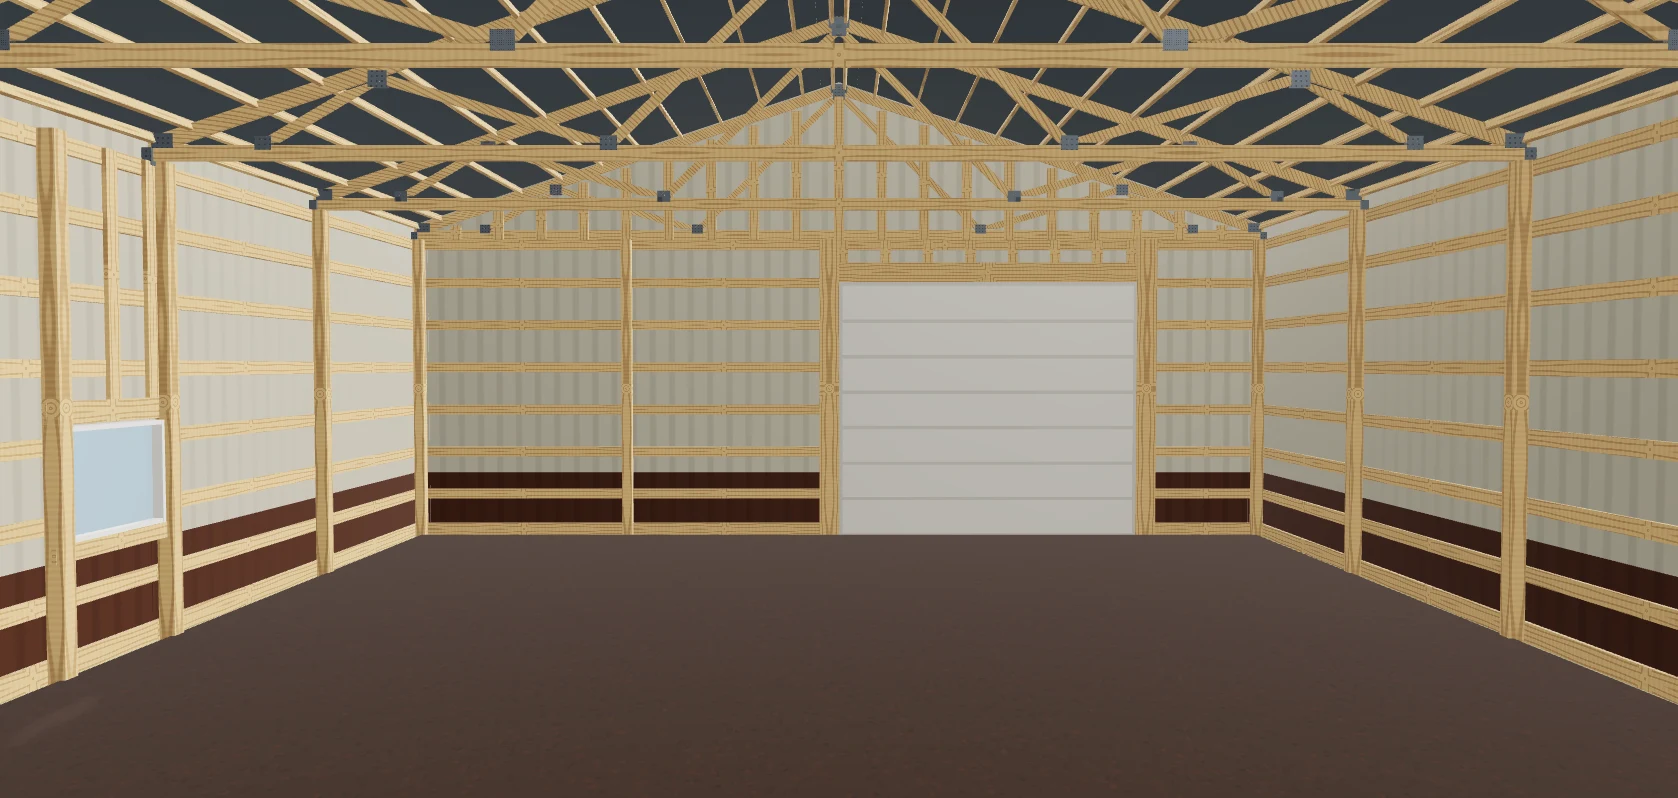
You sell a fourteen-foot door off a flat elevation, and the customer's first walk-through is the day they discover the RV does not clear.
Eye height inside the real model, with the door running up on its actual track, closes a gap no elevation can — and it costs nothing to produce, so every customer gets one, not just the ones worth paying an illustrator for.
Pick the colours
Try itRoof, walls, wainscot, trim, framing — chosen from the actual finish ranges, on the actual building. The colour conversation happens now, on screen, rather than later as a change order.
Colour gets settled over the phone in week three, the wrong steel is already on the truck, and the difference becomes a change order nobody wants to write.
Walls, trim, wainscot, roof and even the framing timber come from real finish ranges and repaint the building as they are picked, which moves the decision from after the order to before it — the only place it is free.
It tells you what's wrong, while you draw
Try itTwo windows sharing wall space. A door heading out above the eave. An endwall that is more opening than wall. The findings appear as you create them, each naming the rule and the fix — not at the end, and not on site. When a design needs an engineer — a stud past its table, a storey taller than the code's wood-wall limit, a building wider than the IRC truss and header tables, a post-frame shell on a home, braced wall lines too far apart — the Engineering group says so, with the code section, and the tag beside the design name reads Engineer required. A finding can be overridden with a typed reason by admins, sales managers and project managers — in Issues and on the floor plan's Code check — and the sheets print who overrode it and why.
Two windows quietly overlapping on the sidewall is a two-minute fix on screen and half a day of re-framing once the girts are up.
Findings are graded — cannot be built, needs engineering, worth knowing — so nobody has to guess which flags are worth stopping for. Click the one about an opening and it takes you straight to that opening.
The count comes from the geometry
Every panel, every stick, every fastener, counted from what you drew. Change the building and the list changes with it. There is no re-entry step, so there is no re-entry mistake.
Steel arrives four panels short, and the argument over who counted wrong costs more than the panels.
It counts what gets purchased against what gets consumed, in the stock lengths a yard actually carries — ninety-two girts at sixteen feet, sixty-eight feet of offcut — so the waste is priced rather than discovered.
Plans you can hand to the crew
Try itElevations, the plan view and the framing, laid out as sheets — so what the crew builds from is generated from the same model the customer approved.
The crew is building from revision two while the customer signed revision one, and nobody notices until a wall is in the wrong place.
Nine sheets drawn from one design cannot drift apart from each other, and sorting them by who is asking — customer, crew, shop — keeps the wrong half of the stack from reaching the wrong person.
For a barndo, a permit drawing set off the same model
Draw the house inside the building and Print sheets makes a set for the permit office from the same geometry, on Full size 24×36, Half size 12×18 or Tabloid 11×17: a site plan with setbacks — drawn to true north once you enter the angle — a slab and plumbing plan located off the post grid, a roof plan, and four exterior elevations projected from the 3D building — eave and ridge heights, every opening tagged. A two-story house prints a floor plan for each level, and the foundation notes follow the wall system. Move a window in 3D and it moves on the elevation. Every sheet is on the permit drawing set.
The elevations for the permit are drawn separately and still show the window where it was before the customer moved it.
The model the customer approved is the drawing the county reviews. A builder never redraws an elevation because a window moved, and the set can't disagree with the quote — because there's only one building.
The order sheet for the supplier
The same count, arranged the way a supplier reads it. The building, the takeoff, the quote and the order are one chain with no retyping in it.
Someone retypes the takeoff into an email to the yard at nine at night, and a 92 becomes a 29.
The same count is restated in the yard's own language — species, stock size, pieces counted as pieces — with the delivery address and the needed-by date on the same page, so the last hand-typed step in the chain is gone.
A door is a hole in a wall, with framing around it
Try itDrop an overhead door and the model does what the crew would do: cuts the opening, adds the header, the jambs and the trim, and takes the girts out of the hole. Move it and all of that moves with it. The material count changes as you drag.
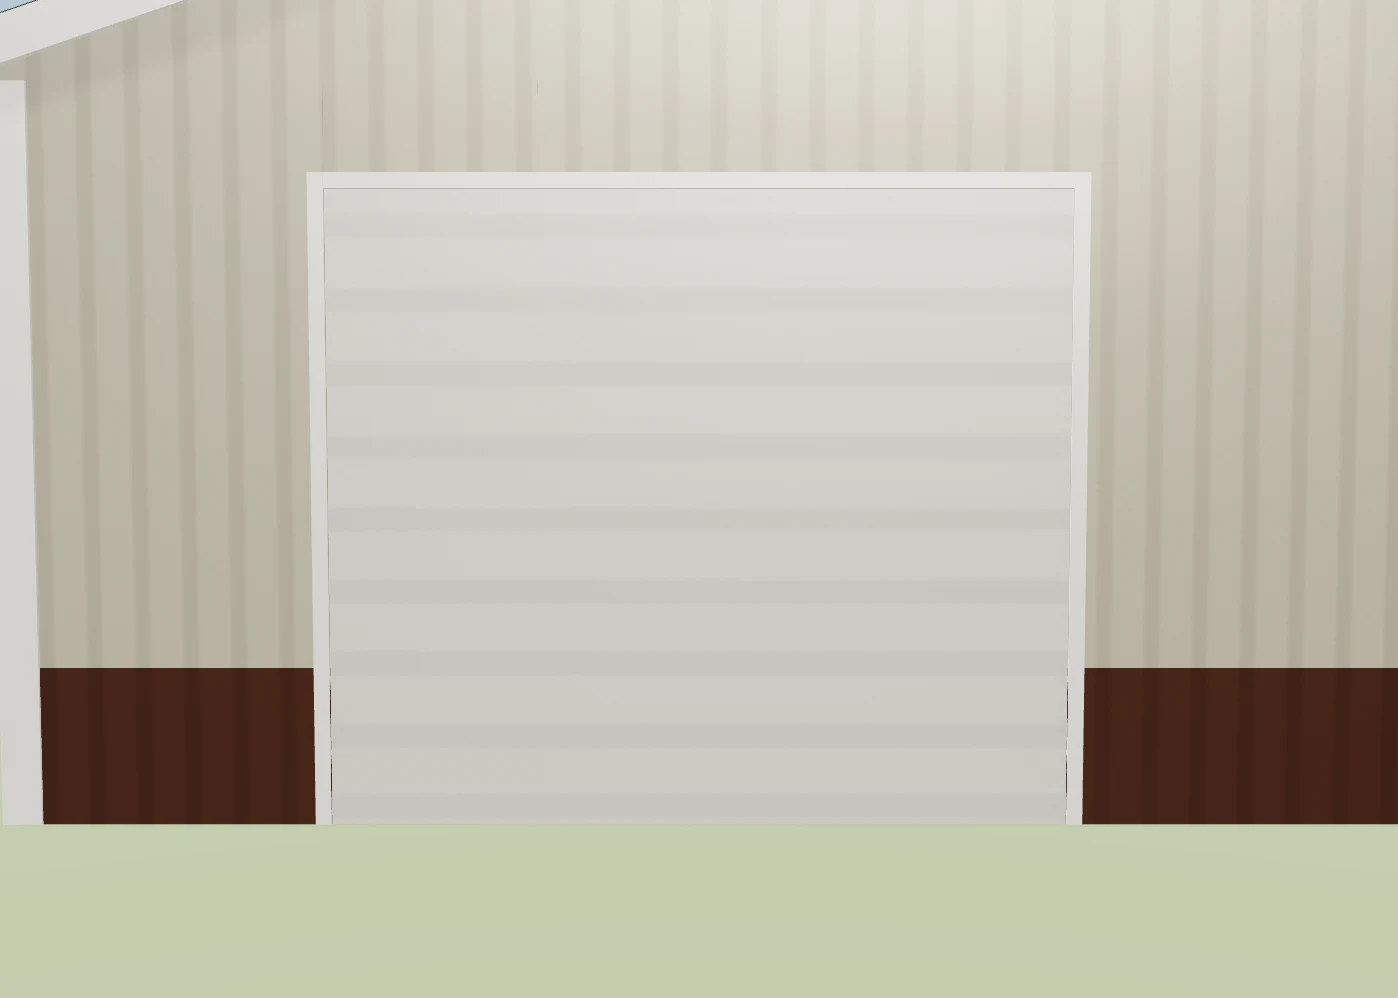
A door added to the quote as a line item does not remove the girts it displaces or add the header it needs, so the order is wrong in two directions at once and neither shows up until the yard delivers.
Most tools treat an opening as a line item you remember to add. Here it is a change to the building, so the takeoff cannot disagree with the drawing — there is only one of them.
Gutter runs measured off the roof, not guessed
Eave lengths come off the geometry, so gutter, downspout and the drops that go with them are counted from the building you actually drew. Change the pitch or the overhang and the run changes with it.
Gutter and downspout get estimated from the footprint rather than the eave, which is wrong on every building with an overhang or an unequal pitch — small money per job, and it is wrong on every job.
Gutter is the classic 'we'll work it out later' line, and later means somebody pacing the building with a tape or rounding to the nearest ten feet.
Every opening in one place
Walk-doors, overheads, windows and sliders listed per wall, with their sizes and positions, so the openings can be checked against what the customer asked for without hunting round the model.
Openings get confirmed verbally and entered twice — once in the quote, once at the order — and the two disagree. The building gets framed for the one that was written down wrong.
The openings are the part a customer changes their mind about, and the part most likely to be mis-ordered. A list is faster to read against a phone call than a 3D view is.
- 1Start from a preset or type the dimensions
- 2Drag a handle — width, length, eave, pitch — and the building follows
- 3Pick the wall system — posts in the ground, posts on slab brackets or stud walls — and the frame and the price change with it
- 4Drop openings on a wall and they snap to the bay lines
- 5Add a lean-to, porch or enclosed wing and it frames itself into the main structure
- 6On a barndominium, add a second floor or a loft and the floor under it is framed and priced
- 7Right-click any part — the roof or its eave, rake or ridge, a wall, a door, the floor, a porch or lean-to, the ground around it — for what that spot can take, or press ⌘K (Ctrl+K) to search all of it
- 8Prefer a list? Checklist shows every value the build accounts for — dimensions, code inputs, walls, roof, openings, floors, interior, site and the prices in use — changes any of them in place, and lets you tick each one off as accounted for
- 9Switch layers to see framing, foundation or insulation instead of the finished shell
- 10Inspect any member to read what it is, why it is that size and which code table sized it — or why an engineer does
- 11The materials list is counted from the geometry as you go — never re-entered
A post-frame quote is a takeoff, and a takeoff done in a spreadsheet is a takeoff done twice — once by the person who sized the building and again by whoever counts the steel. Two people, two chances to be wrong, and the error only surfaces when the delivery is short. So the model and the count are the same object. Move the eave and the wall panels re-cut, the girts re-space, the trim re-lengths, the price moves. Nobody re-enters anything, which means nobody mistypes anything. And because the customer can be shown the same model, the thing you priced and the thing they imagined are finally the same thing.
- A takeoff done twice by two people, with two chances to be wrong
- A price that stops matching the building the moment the building changes
- Framing decisions nobody can check because they live in somebody's head
- Selling a building the customer cannot picture
- A barndo priced on a framing method the builder does not use
- Second floors and lofts priced per square foot instead of from what carries them
Drag the building to size it
Four orange arrows on the main building: pitch at the ridge, height at the eave, length at the far end wall, width at the far sidewall. Odd roof shapes bring their own — a monitor's centre bay, a clerestory riser, a wing pitch, a mansard break. Each arrow says what it changes and shows its live number while you pull.
Handles that show what they do before you grab them
The controls are arrows sitting on the building, not squares floating near it. Each one points along the direction it drives and carries a small plate naming what it changes and its value. A direction that is blocked draws as a wall instead of an arrowhead. Nothing selected, nothing on screen — pick a structure or an opening and only its controls appear.
Snaps to sizes you can actually order
Two kinds of snapping. Standard sizes: overhead doors on 8 through 24 foot, walk doors on 3068 and 3070, plus the eave-height ladder, whole pitches and bay multiples. Alignment guides: drag one opening and its edges, centreline, sill or head pull onto another opening's.
Undo and redo on everything
Undo and redo work on every change in the tool, not the subset somebody remembered to wire up. A continuous drag collapses into a single step. So does a run of quick clicks on the same number box. Undo a deleted door and it comes back already selected.
Shell, roof off, frame, roof frame, foundation, insulation
One control across the top switches what is drawn. Nothing is deleted and nothing is a separate model — it is the same building with layers taken away. New pieces land in the right view by what they are, so nothing gets left behind in the wrong one.
Home, front, gable and plan views
A views menu with four shots: front sidewall, gable end, plan from above, and a three-quarter overview. Each is framed off the building you actually drew, additions and all. The camera travels rather than cutting, so a customer watching does not lose their bearings.
Walk through the building
First-person mode. Walk with the arrows or WASD, drag to look around, Esc to come back out. Walking speed is a slider you set once. Everything you can edit outside, you can still edit inside — press an opening or a handle and it edits instead of turning your head.
Measure anything on the building
A tape measure inside the model. Pin a point, pin a second, and the distance prints above the viewport in builder feet and inches. The tape stays visible against a dark roof, and the pins stay grabbable at any zoom.
One structure owns the controls at a time
Nothing selected means no controls on screen. Click the main building and you get its four. Click a lean-to and you get its six. Click an opening and its tabs are the only thing on the model. Click the grass and it all goes away.
Start from a real building
You do not open onto a blank grid. You open onto a building that is already finished, with its doors, windows, bay spacing, eave height and pitch in place, painted in real manufacturer steel colours — Charcoal, Light Stone, Polar White, Rustic Red-brown.
Every control, written down
One panel listing every mouse gesture, key and shortcut, printed as keycaps. Alongside it, a first-run card that teaches the five things that unlock the tool: drag the arrows, right-click a wall, drag a door, undo, rename. It disappears once you have used them.