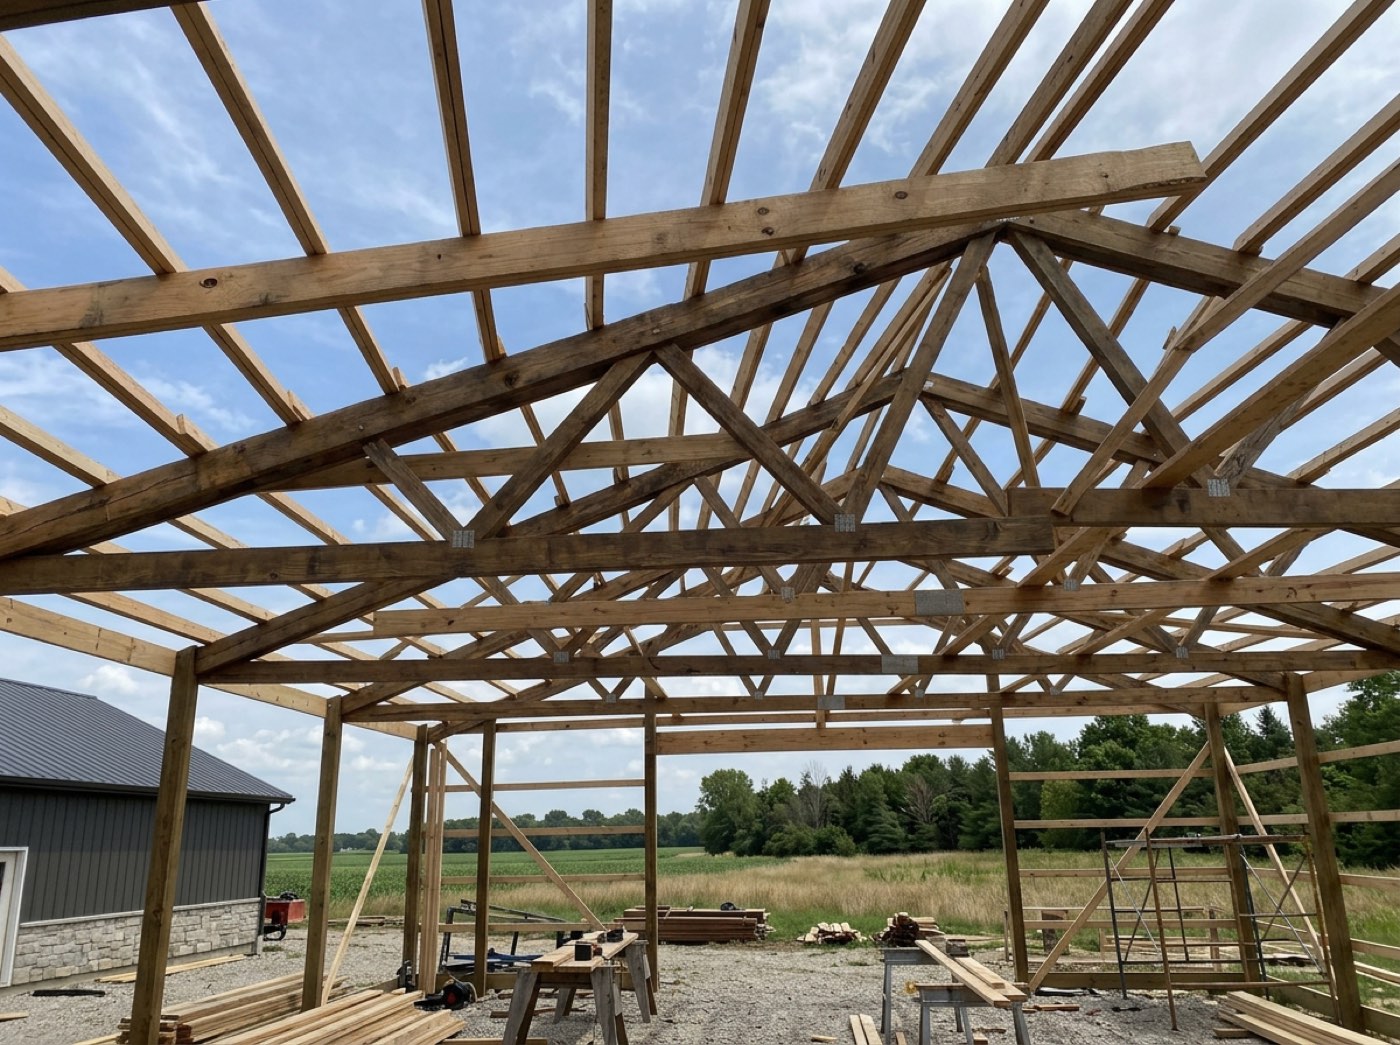
Open any photo and press Mark up: Draw, Arrow and Text, four loud pen colours, one slider for thickness or text size, and Undo and Redo. Arrows number themselves 1, 2, 3 in the order you draw them. A note can be typed or dictated. The marks are kept beside the photo, not burned into it — they zoom with it, switch off with one tap, and the writing becomes a note on the customer's record. Like the rest of the operating system built only for post-frame and barndominium builders, it is made for the trusses, straps and slabs your crews actually photograph.
Also called: photo markup · annotate photos · draw on photos · photo annotation · arrows on photos · notes on photos · field notes
Draw, arrow, text — right on the photo
Try itThree tools in a row the size of a gloved thumb: Draw for a ring round the problem, Arrow to point at it, Text for the note. Four pen colours loud enough for a sunlit photo — red, yellow, white, green — and Undo and Redo. Draw on the photo to try it.

The crew lead texts a photo of forty trusses with this one's wrong, and the office has to call him back to ask which.
The person who saw the problem wants to be understood the first time. One ring and one arrow does that — no callback, no which one?, no feeling of being second-guessed — so the office acts sooner and the crew feels heard. Arrows drag from start to point, the way a finger points, and the few loud colours read on a sunlit photo, with one soft shadow under the marks instead of a hard outline round each line.
Arrows that number themselves
Try itEvery arrow gets a numbered disc on its tail — 1, 2, 3 in the order you drew them — so see 2 in a message means one spot. Thicken an arrow and its disc grows with it; thin it and the number shrinks. Arrow 3 is picked: drag the slider.
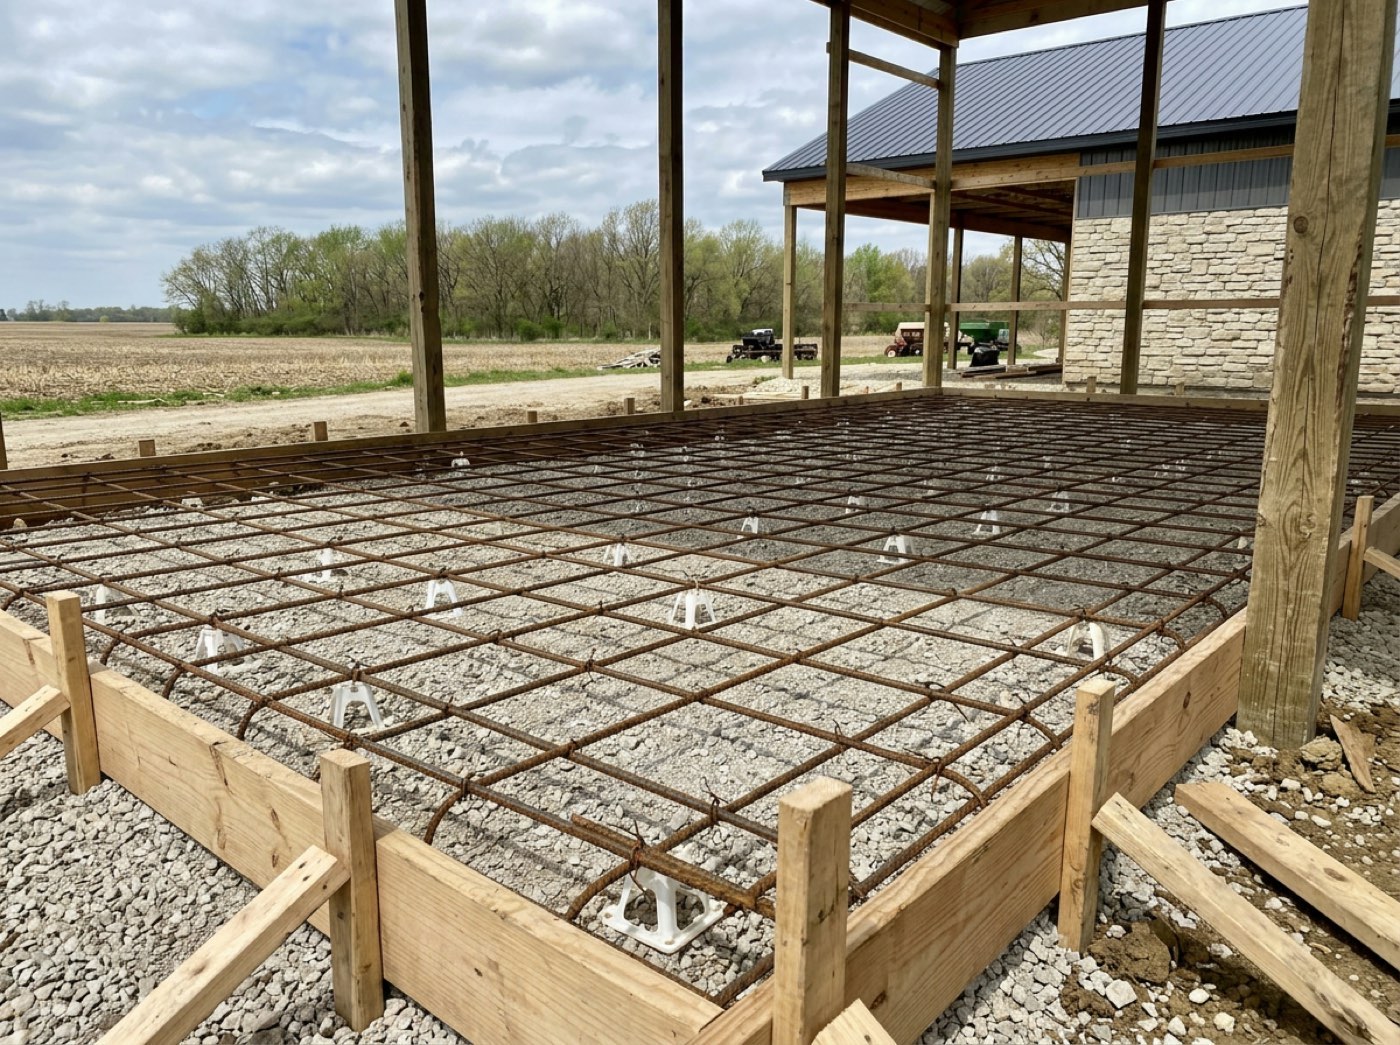
Three things wrong on one photo, three unnumbered arrows, and a reply that says the left one when there are two on the left.
Numbers turn a picture into a list people can act on: 1 is fixed, 2 on Monday. Nobody has to describe the left one, and nobody feels foolish asking. The disc grows and shrinks with the arrow so a marked photo stays easy to read, the head is a clean solid point with no halo round the line, and a pale pen gets a dark numeral so the number always shows.
One slider for thickness and text size — down to 5%
Try itThe slider under the photo follows what you're doing: Thickness for a line or arrow, Text size for a note. With a mark picked it changes that mark without moving it; with nothing picked it sets the next one. Text goes down to 5% of the standard size — small enough to write a measurement beside a panel edge without covering the panel.
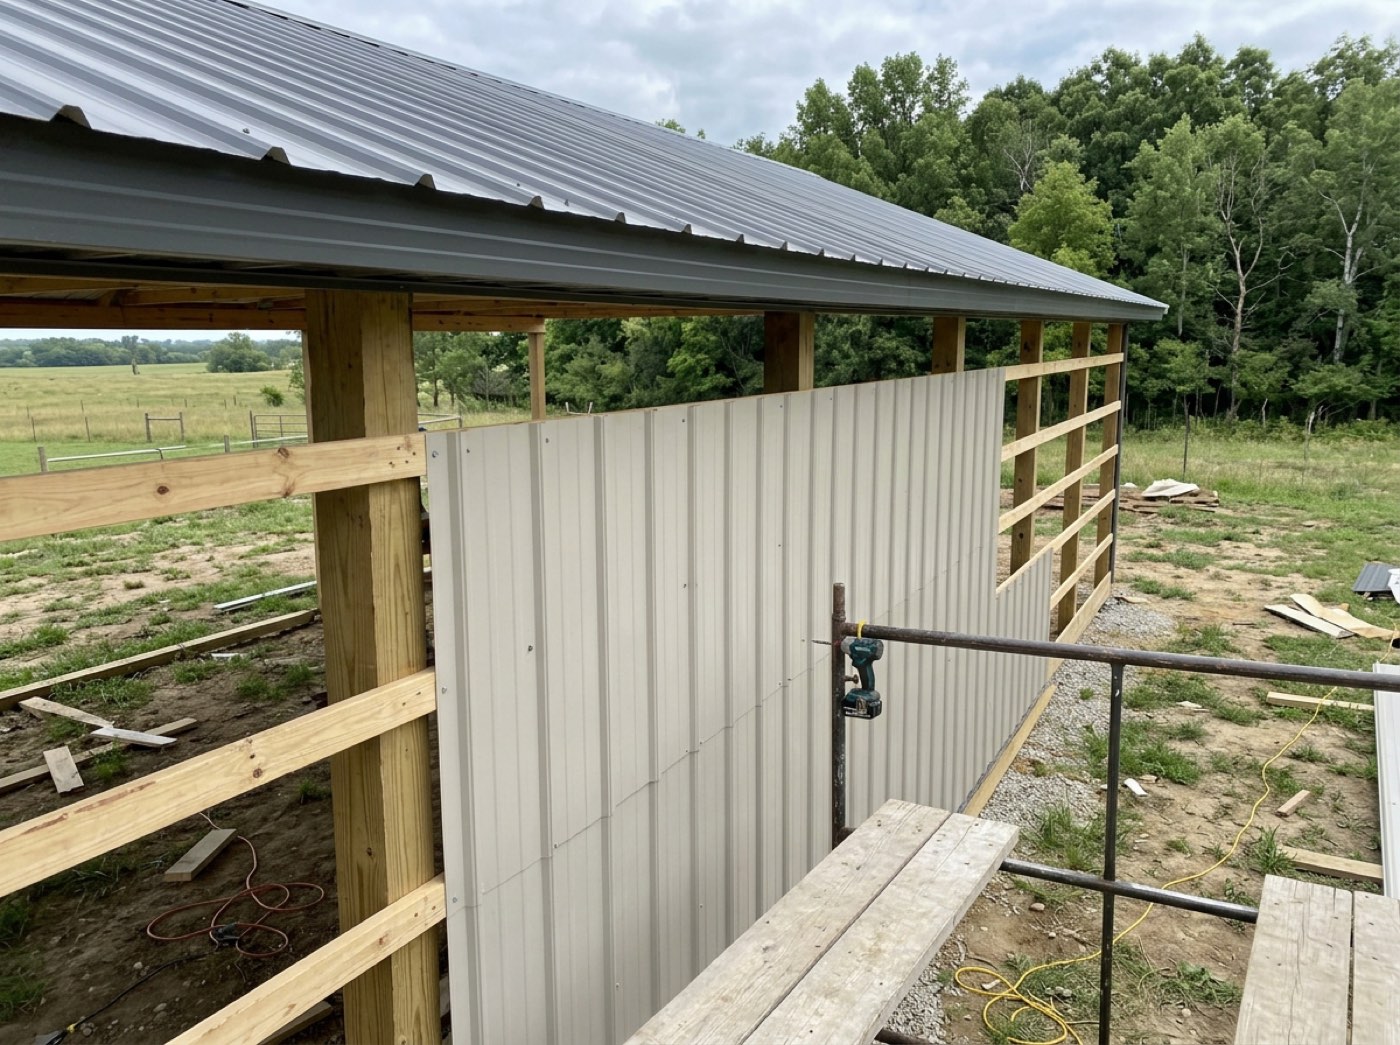
A note big enough to read covers half the panel you're writing about, and a pen sized for a wide shot vanishes on a tall one.
A mark that hides the thing it's about is worse than no mark. Letting the writer choose the size keeps the photo honest and the note readable, so the person reading trusts both. Thickness multiplies the pen instead of redrawing the line, both settings are remembered on the device, and the standard pen is sized off the photo's shorter side so it looks the same on a tall shot as a wide one.
Tap a mark to pick it — and fix just that one
Try itTap any arrow, line or note and a dashed box shows it is picked: the slider adjusts it, a colour recolours it, Remove takes it off, and a note can be dragged somewhere else. Tap the photo anywhere else to let go.
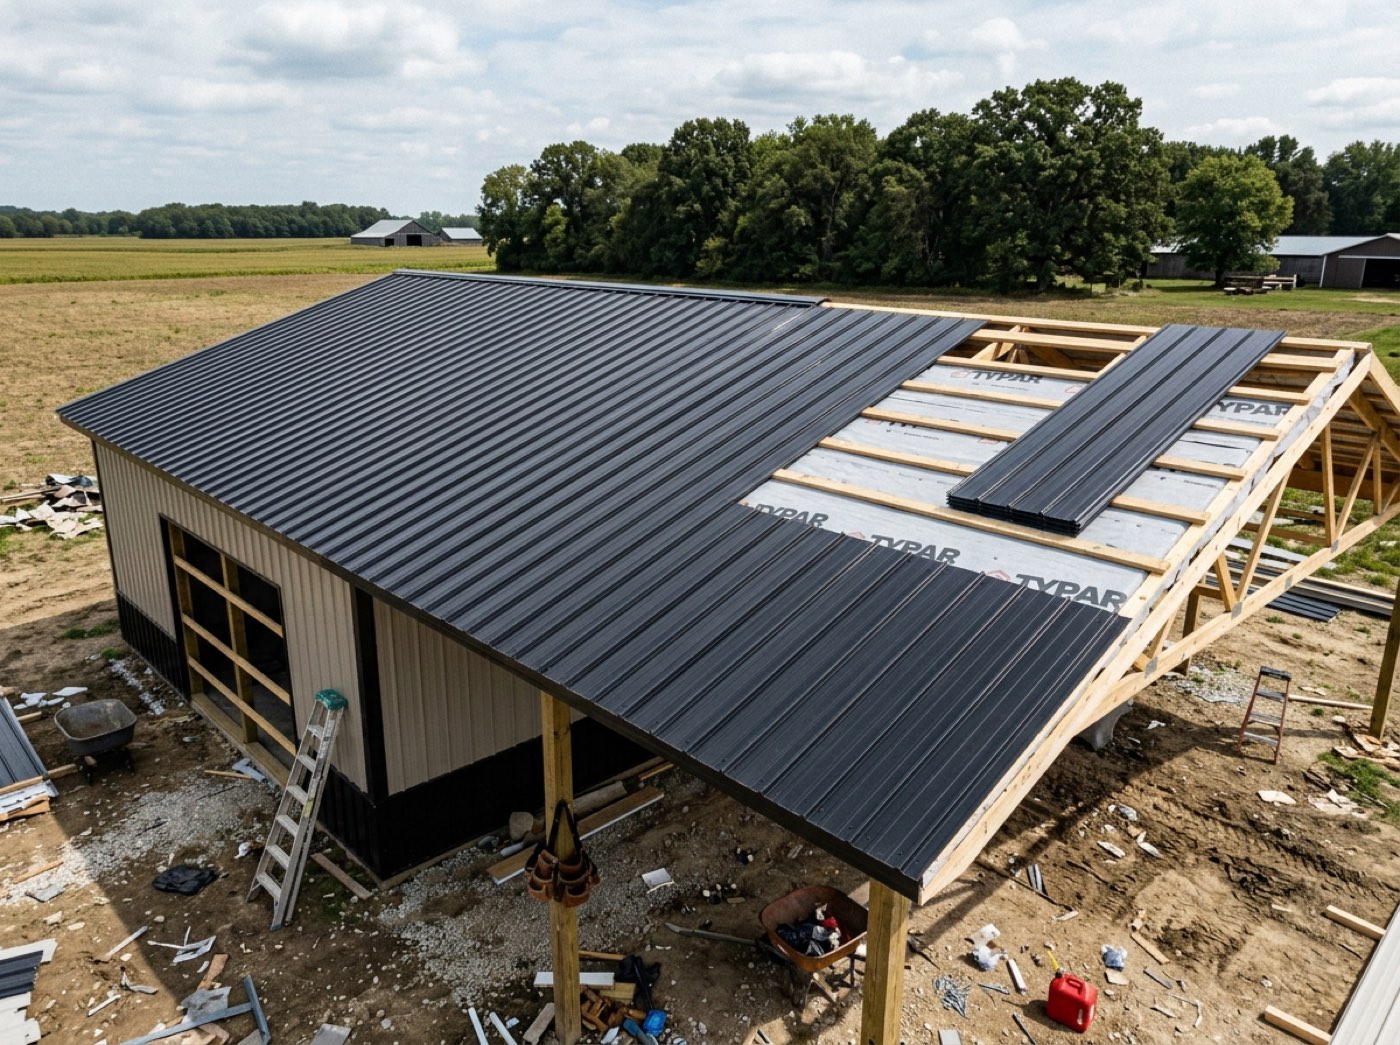
The arrow is a hair off, and the only way to fix it is to clear everything and start again.
Being able to fix one small mistake without starting over is what makes people willing to try at all. The dashed box is plainly the editor's, never part of the drawing, and a mark you've just drawn stays picked without a box — so you can adjust it while the photo stays clean. The number disc on an arrow picks it too, because it's the biggest target on it.
On a keyboard, it goes at typing speed
Try itIn the office, keys do it: A for arrow, D draw, T text, ⌘/Ctrl+Z undo, ⌘/Ctrl+Shift+Z redo, and Delete removes the picked mark. Click into the editor and try them.
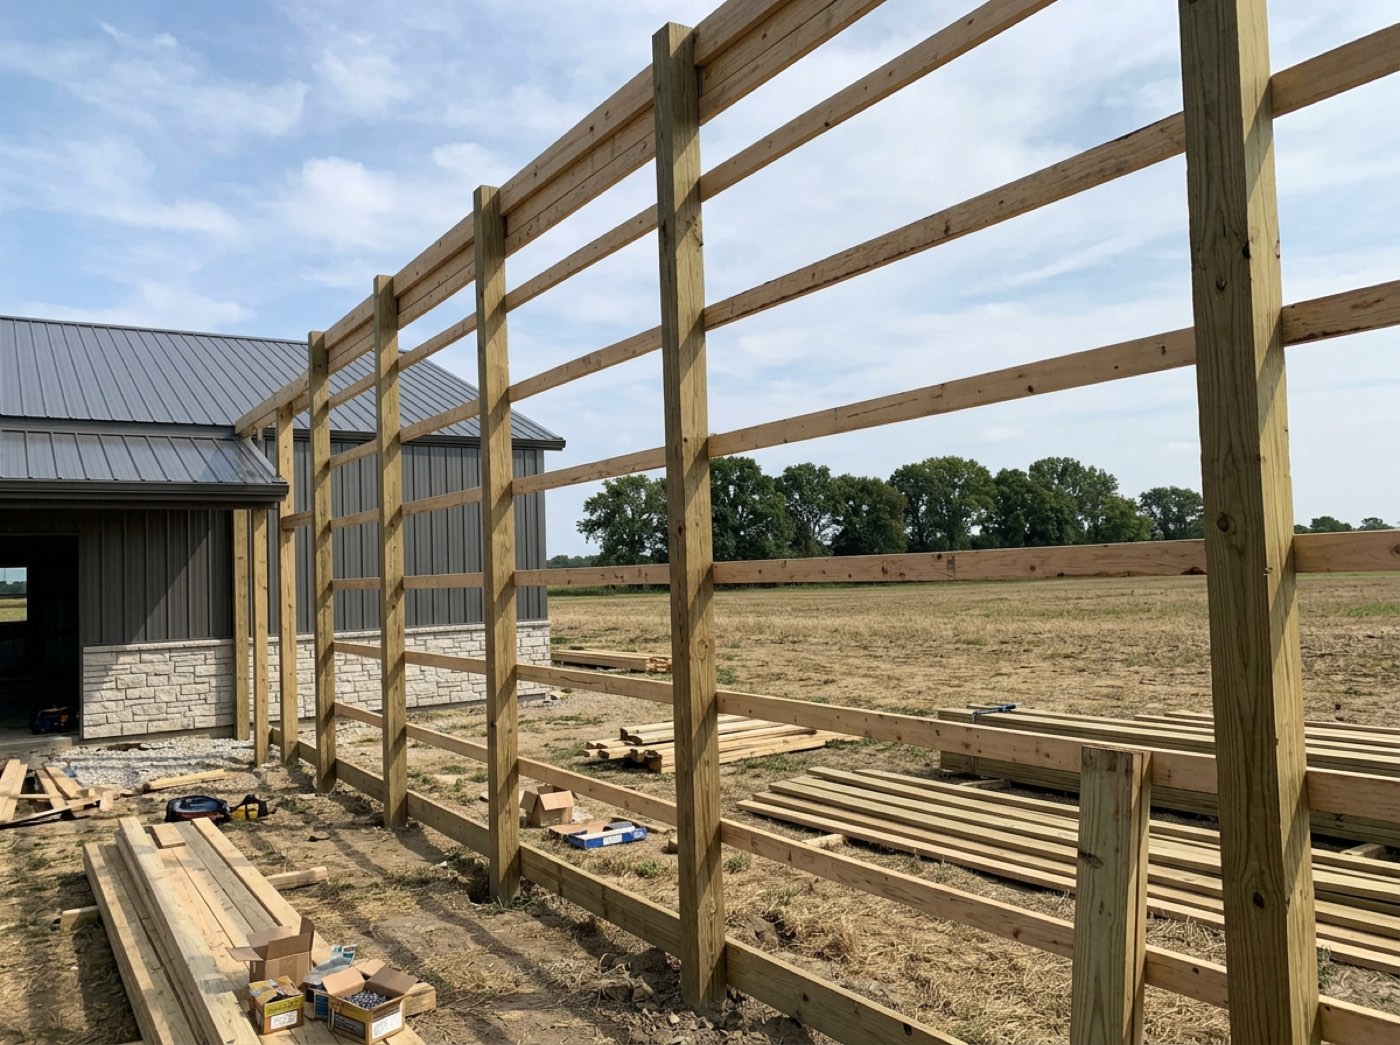
Marking up twenty QA photos with a mouse is twenty trips to the toolbar for every mark.
Someone reviewing twenty photos wants hands on the keyboard and eyes on the photo. Keys that follow the obvious letters feel natural the first time, so the reviews get done instead of put off. Every finished change is one undo step — a whole drag is one, not one per pixel — and the keys never fire while you're typing a note, so the t in strap truss stays a letter.
Type the note — or say it
Try itText opens a box in the middle of the photo: type the note, or tap Speak it and say it, where the phone's browser can listen. Place it drops it on the photo; then drag it where it belongs. A note wraps to fit and always stays inside the photo, wherever it's dropped. Tap Speak it to try.
The note that mattered got shortened to fix because typing it with cold hands took too long.
Typing with cold hands on a ladder means the note gets shortened to fix. Speaking it means the whole thought survives — and the crew lead feels his judgement was recorded properly, not squeezed. Notes wrap inside nine-tenths of the photo's width and are held inside its edges at every size, so a long sentence never runs off the side.
On the crew's phone, before the photos leave
Try itThe same editor runs in the crew's camera on site. After a walk-round, each shot can be marked up before Done — step through them with the arrows on either side, Framing · 2 of 6 — and the marks travel with the photos to the job.
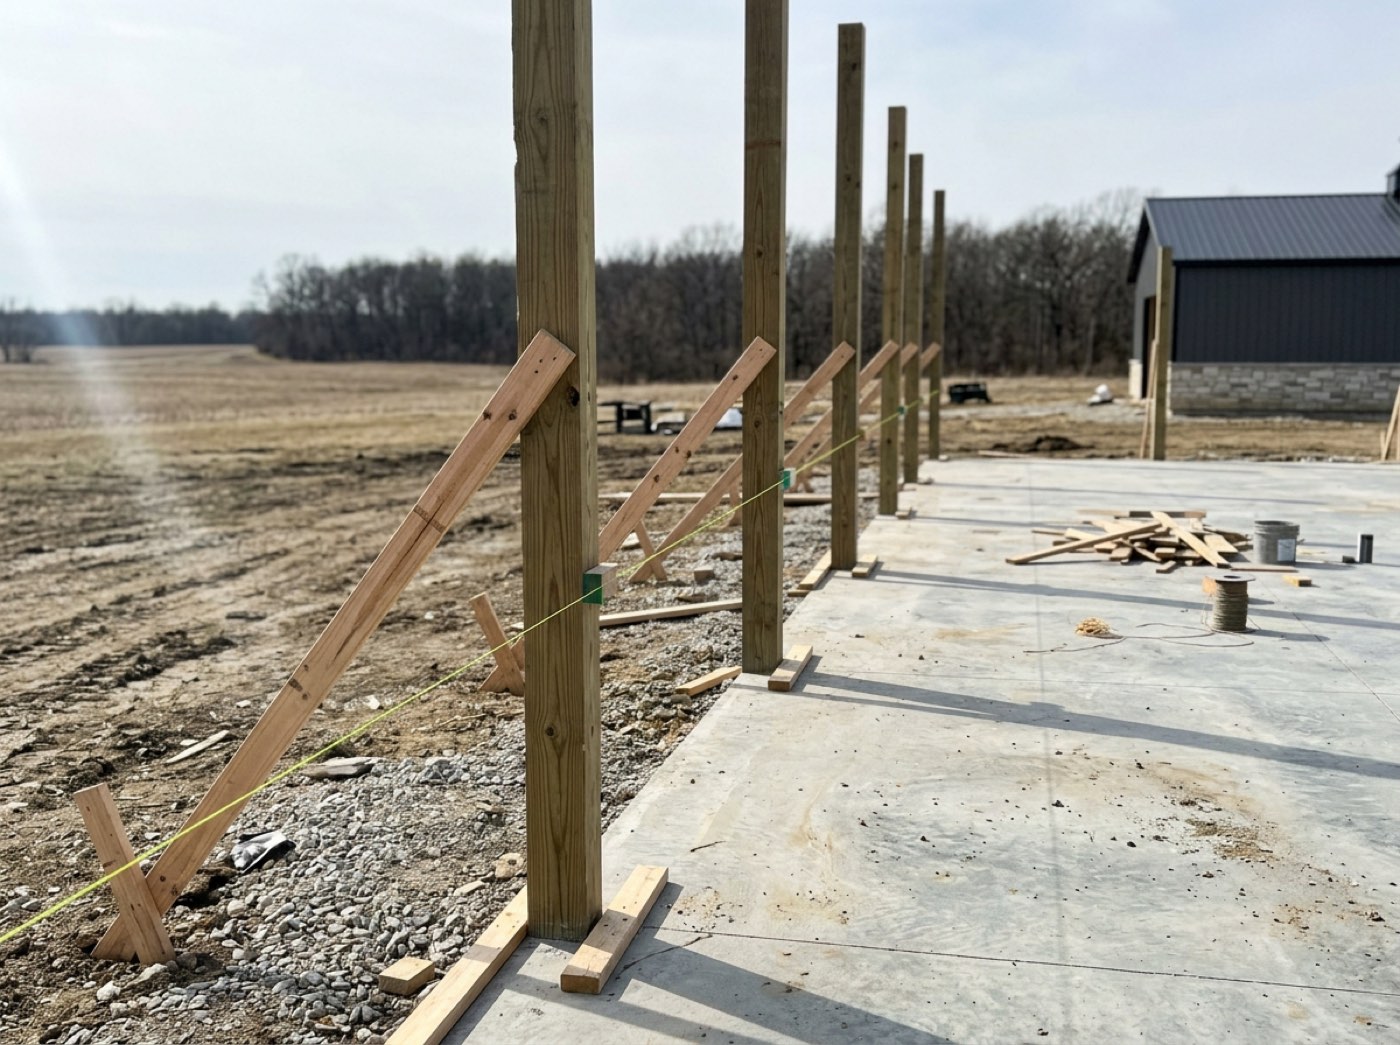
The crew lead mentions the out-of-plumb post on the phone at six, and by Monday nobody remembers which post.
The best moment to mark a problem is while you're still standing in front of it; memory fades by the drive home. Letting the crew lead circle it before the photos leave means he owns the call, and the office gets it right the first time. The marks travel beside each photo, never burned in, exactly as in the office.
The photo is never changed — marks on, marks off, at any zoom
Try itThe marks are stored beside the photo as their own layer, so the original stays the original. In any viewer, Marks on / Marks off shows or hides them in one tap, remembered for next time; pinch or scroll in and the marks zoom with the photo, landing on the same spot at any size. Flip the switch to try it.
Somebody circles the crack in red on the only copy, and now nobody can see what the crack looked like.
Anyone who has had a photo questioned knows the original is what counts. Keeping the marks as their own layer means the picture you hand an inspector or a customer is exactly what the camera took — that is where trust comes from. Every point is stored as a share of the photo's width and height, so the marks fit any screen and any zoom.
The gallery shows which photos carry marks
Try itA marked photo wears a red tag in every grid: Field notes for writing, Drawing for lines and arrows, or Notes + drawing. The gallery's Field notes and Drawings buttons each switch on by themselves; together they show photos with either. Try them.
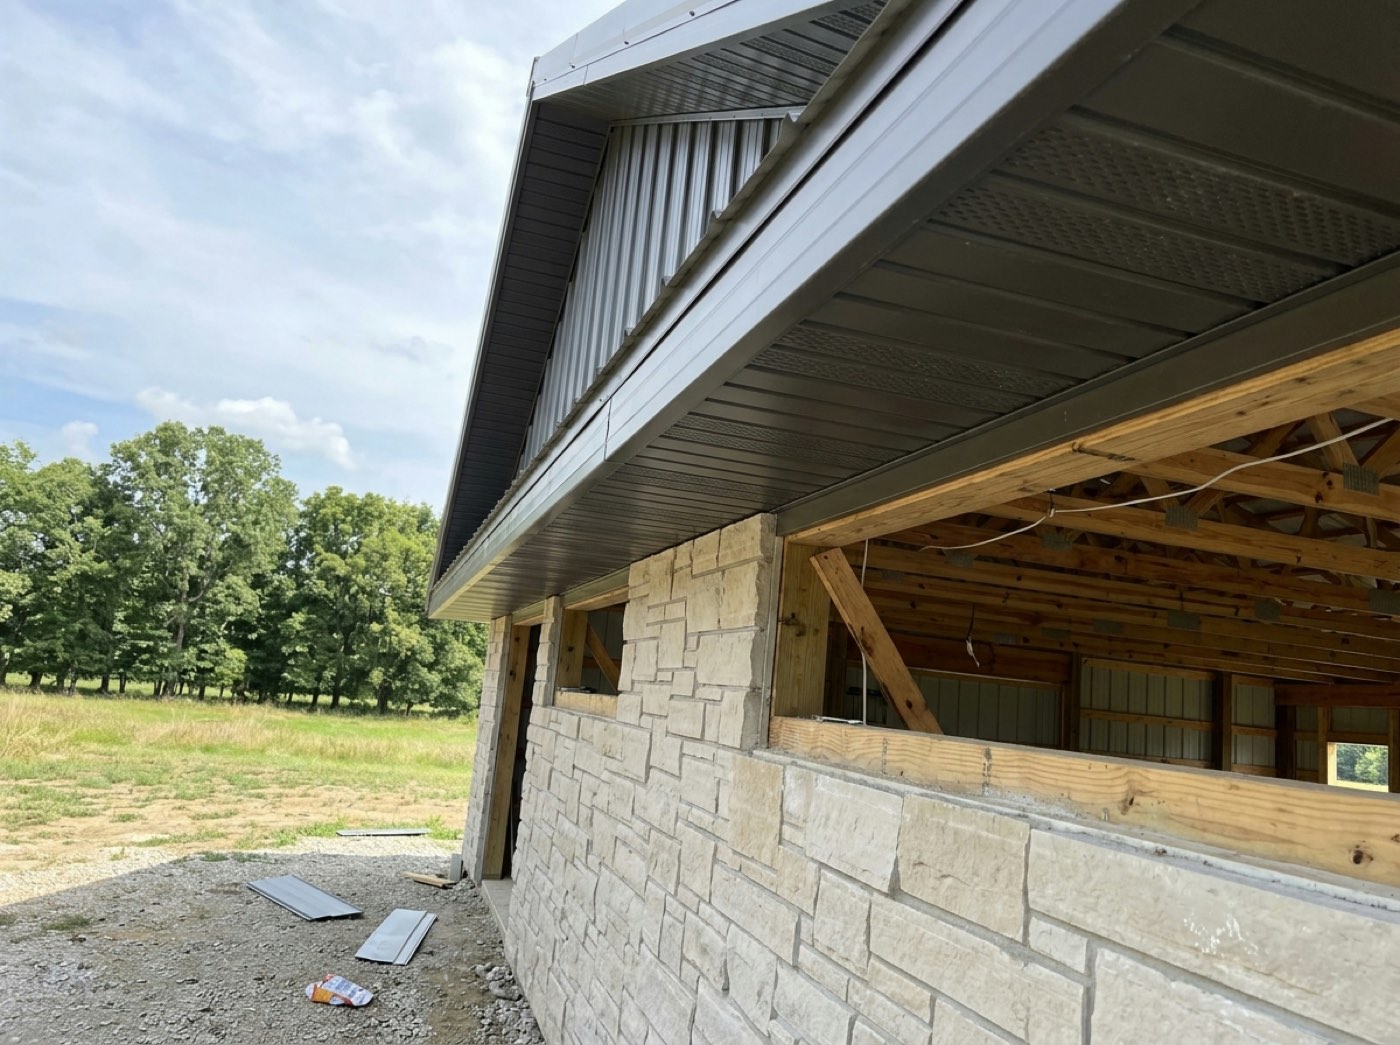
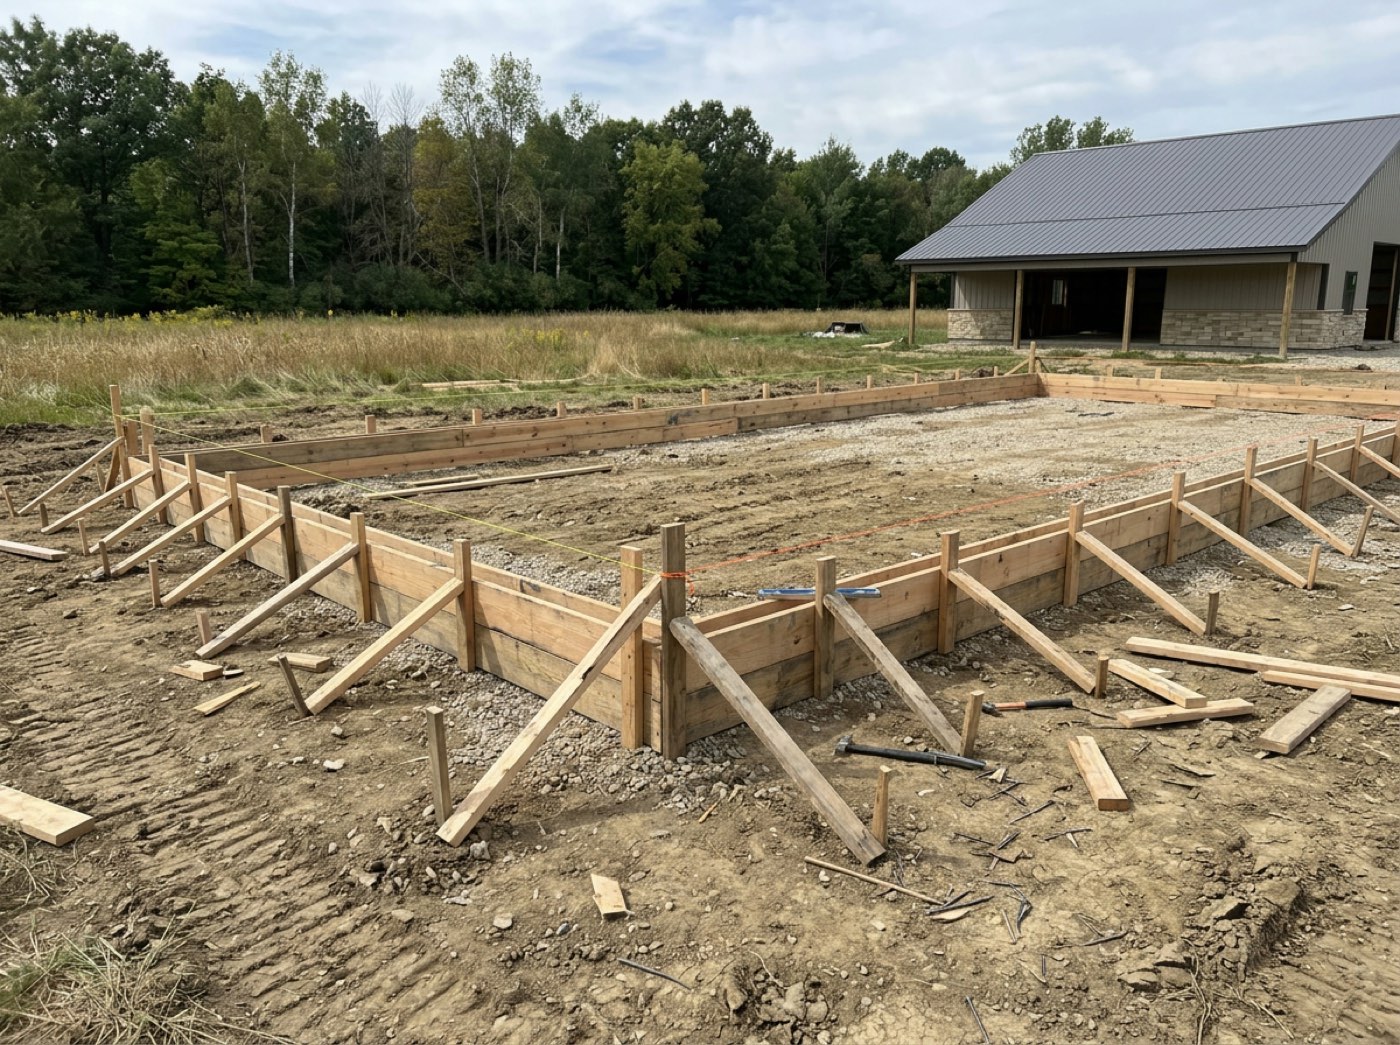
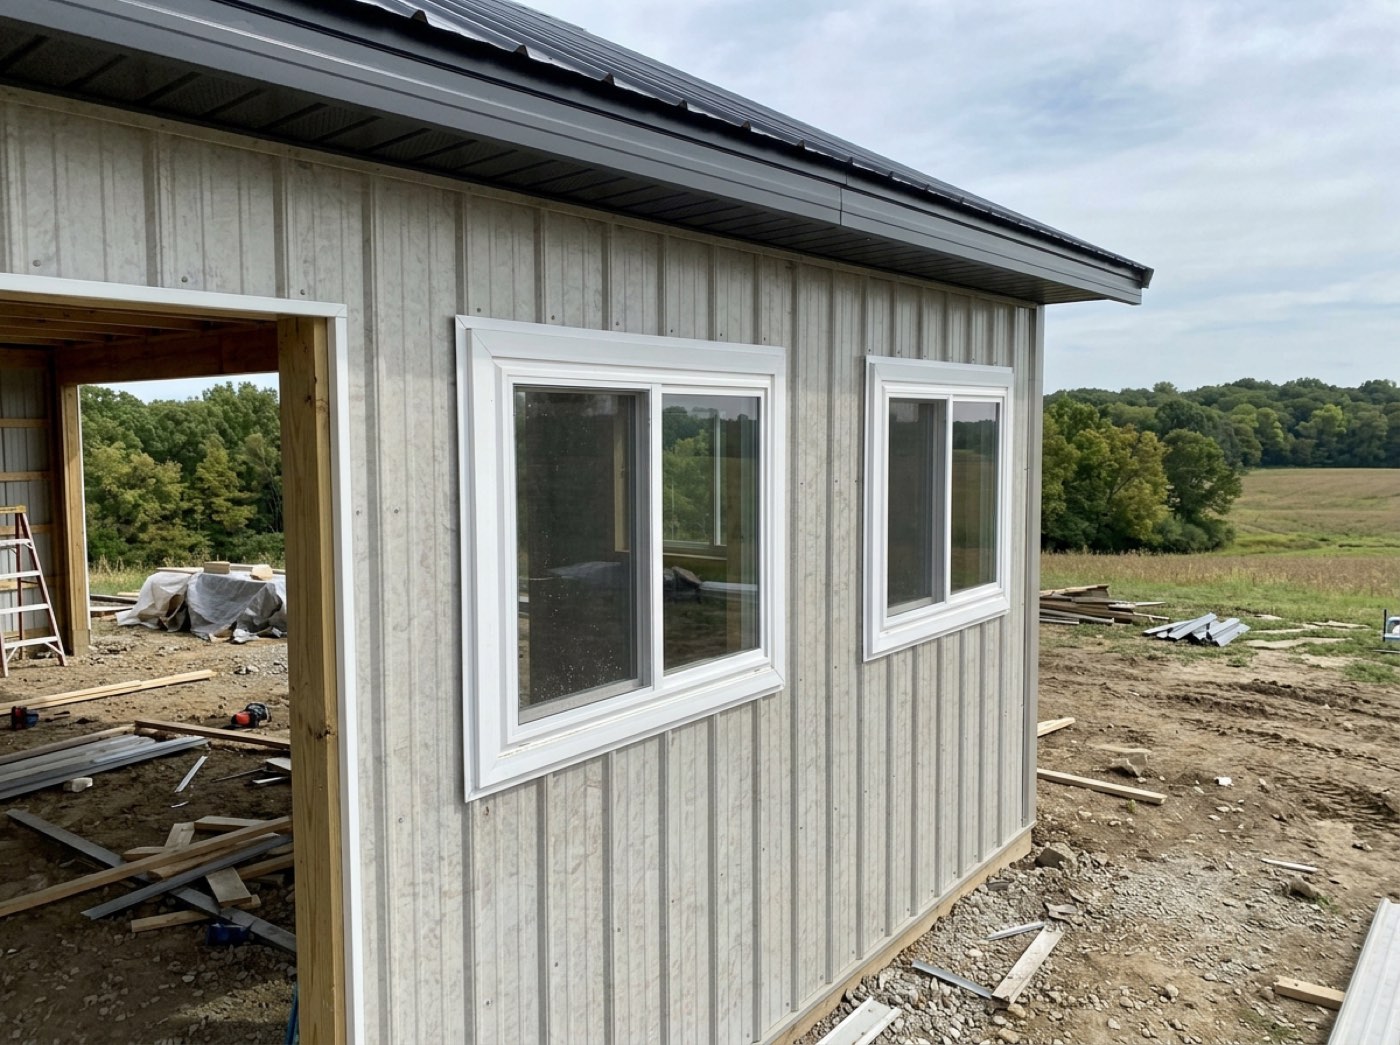
The QA photos the supervisor annotated last month are somewhere among four thousand others, and nothing marks them out.
A marked photo is one somebody cared enough to review — usually the useful ones. Making them findable as a set means that effort pays back: a supervisor's notes become next season's training, and the crew sees their review mattered. The tag uses the filter's own words, so there's nothing to translate.
Writing on a photo becomes a note on the customer
Try itWrite on a photo of a job and the writing files itself as a field note, named for the stage — Framing note — Tess Hollis — on the customer's record. It shows in the contact's notes on the contact record, on the pipeline card and in the project window, with the photo beside it; tap the photo to see the writing in place.
The crew wrote two chairs short by the north door on a photo, and the person ordering the pour never opened the gallery.
Most people in the office read notes, not galleries. Sending the crew's words to the customer's record means whoever orders the pour, or calls the customer, sees them without hunting — and the crew learns that what they write gets read, so they keep writing. The note follows the photo: change the writing and the note changes, wipe it and the note goes. Lines and arrows alone write no note; there's nothing to read.
- 1Open a photo in the gallery viewer and press Mark up — or, on the crew's phone, mark up a walk-round before pressing Done.
- 2Draw with a finger, drag an Arrow from where it starts to what it points at, or tap Text to type or say a note, then drag it where it belongs.
- 3Arrows count 1, 2, 3 in the order drawn, each with a numbered disc on its tail that grows and shrinks with its thickness.
- 4Tap any mark to pick it: a dashed box shows which, the slider adjusts it, a colour recolours it, and Remove takes it off.
- 5On a keyboard: A arrow, D draw, T text, ⌘/Ctrl+Z undo, ⌘/Ctrl+Shift+Z redo, Delete removes the picked mark.
- 6Press Done. The marks are stored beside the photo; the photo is untouched.
- 7Every viewer draws the marks over the photo — Marks on or Marks off — and the gallery tags marked photos Field notes, Drawing or both, with a filter for each.
- 8Writing on a job photo files itself as a note on the customer, named for the stage — on the contact, the pipeline card and the project window.
A photo of a problem is half a message. The crew lead sees the missing strap; the person reading it in the office sees forty trusses and has to guess which one. So the marks go on the photo, the way you'd circle it on a print — an arrow at the strap, a ring round the sling, strap truss 7 before steel in big white letters — and three arrows on one photo are numbered, so a text that says see 2 means one spot. The photo underneath is never changed. Burning the drawing into the picture would have been simpler, and it would have cost the evidence: the original is what proves the condition, and a scribble across it proves nothing about what was under the scribble. Kept beside it, the marks zoom with the photo, switch off with one tap when you just want to look, and come back when you need them. It is built for one trade on purpose. Post-frame and barndominium crews find the problem on a ladder with gloves on, so the buttons are glove-sized, the colours read in full sun, and the note can be spoken. And the words written on a photo don't live only on the photo: they file themselves as a note on the customer's record, so the person who never opens the gallery still reads them.
- Photos of a problem that don't say where the problem is
- Mark-ups that overwrite the original evidence
- Notes written on photos that nobody reading the job record ever sees